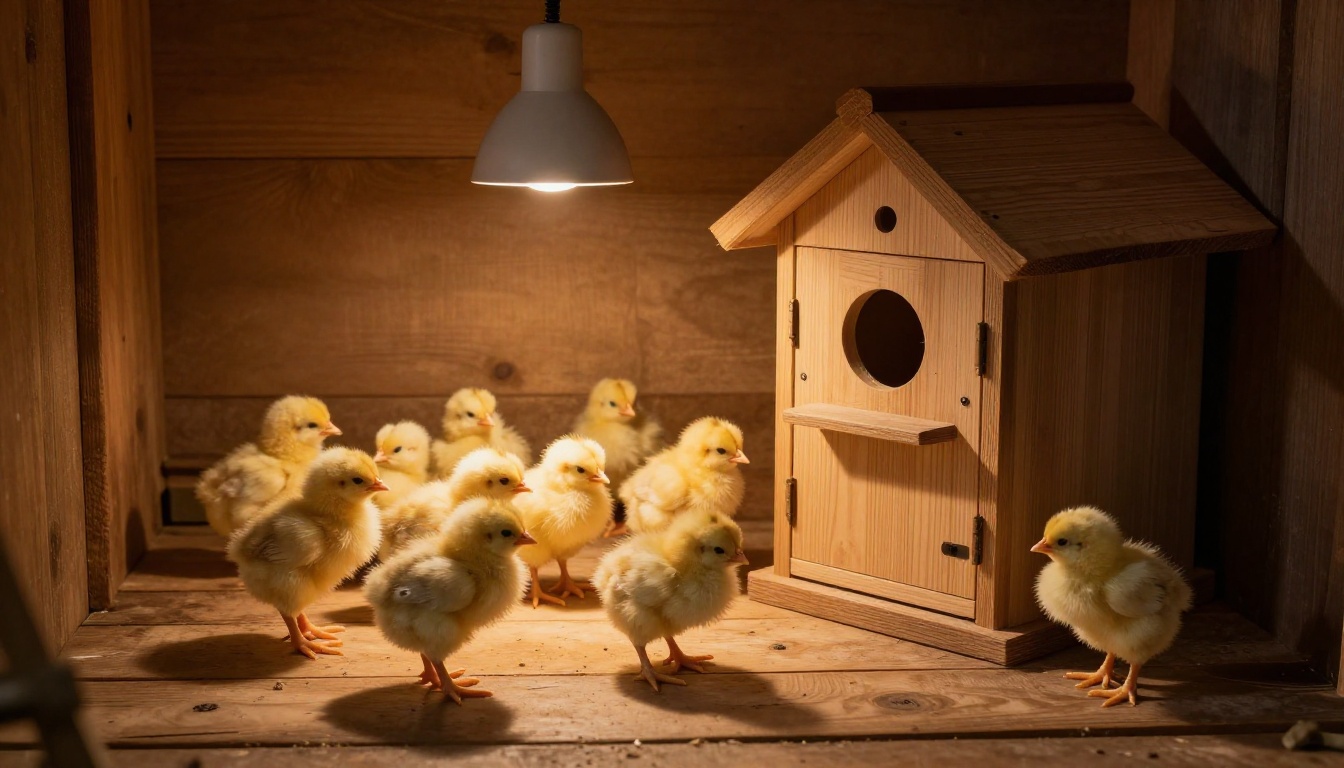
Picture this: your fluffy new chicks huddle tight under a glaring heat lamp. They cheep in distress. Or they scatter to the edges, panting and spreading wings. Both scenes spell trouble. A draft-free brooder keeps baby poultry safe from chills that lead to pasty butt or worse. It also provides the right heat gradient so chicks pick their comfort spot and stay healthy.
New backyard chicken keepers often face these issues. Chicks need warmth like momma hen gives, but without overheating or cold spots. Drafts sneak in and drop temps fast. This guide walks you through a simple setup. You’ll get thriving chicks ready for the coop by week six.
Follow these steps, and you’ll avoid common pitfalls. Let’s start with picking the right spot.
Pick the Best Brooder Spot and Build It Right
Location sets the stage for success. Choose a quiet area with low traffic. Keep it away from pets, kids, and windows that let in drafts. A garage corner works well because it’s out of the way. Bathrooms or spare rooms offer steady temps too. These spots stay calm so chicks focus on growing.
Size matters from day one. Plan for growth because chicks double in size weekly. Start with enough space to prevent stress. Overcrowding leads to pecking and disease. Use clean, non-toxic materials that hold up to messes. Bedding like pine shavings absorbs moisture best. Skip cedar; it irritates little lungs.
Build sturdy to last the brooding phase. Elevate if on concrete floors. This blocks ground chill. Clean everything first with mild soap. Dry fully before adding chicks.
Match Brooder Size to Your Chick Count
Crowded chicks get stressed fast. Give each bird 0.5 to 1 square foot in week one. They need room to move without piling up. By week four, bump it to 2 to 3 square feet per chick. Feathers grow in, so space expands their world.
For example, ten chicks fit a 2×2 foot box at first. Twenty-five need a 4×4 foot tub. Fifty birds call for a large plastic stock tank or custom frame. Start small and add sections as they grow. This keeps costs low and hygiene high.
Watch for signs of tight quarters. Restless behavior means upgrade now. Plenty of space means happy, active chicks.
Choose Safe, Easy-to-Clean Materials
Plastic tubs shine for beginners. They sanitize quick with a hose. Cardboard boxes cost little but soak up waste fast. Replace them weekly to dodge mold. Wooden frames with plywood bottoms last longest. Line sides with hardware cloth for later airflow.
All materials must be smooth and splinter-free. Chicks peck everything. Disinfect with a vinegar-water mix before setup. It kills germs without harsh chemicals. Rinse well and air dry.
Pine shavings make great bedding. Spread two inches deep. It soaks poop and lets you spot clean daily. Refresh fully every few days. Good materials mean less disease risk.
Block All Drafts to Keep Chicks Cozy and Healthy
Drafts kill more chicks than cold alone. Tiny bodies lose heat quick through gaps. A draft-free brooder stops sneaky air currents. Seal every seam with duct tape. Cover open sides with towels or cardboard flaps. Pin them secure so chicks stay inside.
Elevate the setup off cold floors. Bricks or wood blocks work fine. Surround with draft stoppers at doors. Close nearby windows during setup. Test often because houses shift with weather.
Past drafts cause respiratory woes or sudden death. Chicks can’t tell you they’re cold. They just suffer. Block air first, then add heat. Your brood stays cozy as a result.
Simple Ways to Test and Seal Drafts
Feel for drafts by hand first. Run it along edges at chick height. Next, light incense and watch smoke. Steady wisps mean gaps. Or drop a feather; if it floats, air moves.
Find the leak, then stuff it. Towels fit most spots. Secure with tape or clamps. Check corners and bottoms too. Retest after fixes. No movement means success.
Do this before chicks arrive. It takes minutes but saves lives. Peace of mind follows.
Raise Your Brooder Off the Floor for Extra Protection
Cold floors suck heat from below. Raise your brooder 4 to 6 inches on bricks or legs. This insulates against concrete chill. Wood conducts less cold too.
Stack stable blocks under corners. Level it so bedding stays even. Chicks feel warmer overall. Ground drafts can’t rise up. Simple lift makes a big difference.
Create a Perfect Heat Gradient for Self-Regulating Chicks
Chicks self-regulate when you give choices. A correct heat gradient means one hot end and one cool side. Start hot end at 95 degrees F week one. Drop 5 degrees weekly. Cool end stays 70 to 80 degrees F. They pick what’s right for them.
Position heat at one end only. Measure at chick level, not air above. Use safe sources like red bulbs or panels. Watch behavior close. Panting means too hot; huddling signals cold.
This setup mimics nature. Momma hen moves around. Chicks learn to do the same. Healthy growth follows.
Top Heat Sources That Deliver Even Warmth
Red 250-watt bulbs cost little. Clamp them high with guards. Fire risk drops with red glass. Ceramic heaters push heat without light. They suit night cycles better.
Radiant heat plates feel like hen warmth. Chicks brood under them natural. All need thermostats for steady temps. Secure everything so it can’t tip. Safety first keeps your flock safe.
Compare options based on your space. Bulbs fit small brooders. Heaters handle larger ones.
| Heat Source | Pros | Cons | Best For |
|---|---|---|---|
| Red Bulbs | Cheap, easy setup | Light disrupts sleep, fire risk | Small brooders, beginners |
| Ceramic Heaters | No light, even heat | Higher cost | All sizes, night use |
| Radiant Plates | Natural feel, safe | Pricey upfront | Natural brooding fans |
Bulbs suit tight budgets. Heaters offer reliability. Pick what matches your needs.
Position Lights and Test the Temperature Spread
Hang the lamp 18 to 24 inches above bedding at the hot end. Use an infrared thermometer. Check multiple spots at chick height. Aim for 20 to 30 degree drop across the brooder.
Adjust height down for more heat. Up for less. Multiple readings ensure even spread. Do this daily at first. Tools make it simple.
Cool side stays room temp. Gradient lets chicks roam free.
Read Chick Behavior to Fine-Tune Your Gradient
Active chicks spread out even. They forage and drink well. That’s perfect. Huddling under heat means raise the temp or lower the lamp. Panting with wings out screams too hot. Lift the source higher.
Piling in corners signals drafts, not cold. Check seals first. Quiet chicks sleep scattered. Adjust based on what you see. They tell you everything.
Fine-tune quick, and they’ll thrive.
Monitor Daily and Avoid Setup Pitfalls
Check temps twice daily. Refill water and clean bedding. Keep humidity 50 to 60 percent. Spot issues early to save birds. Lower heat weekly as they feather out. Move to outdoors around week six.
Tools help track without guesswork. Common slips like wrong starting temp hurt fast. Fix them before loss hits.
Daily habits build strong flocks.
Essential Tools for Easy Temperature Tracking
Grab a digital infrared thermometer. Point and read from afar. Probe types go into bedding for accuracy. Hygrometers show humidity too.
Chick cams let you peek without opening the lid. Stress drops low. Affordable sets run under $30. Use them morning and night.
These gadgets pay off in healthy birds.
Mistakes That Can Harm Your Brood and How to Dodge Them
Forget to drop heat weekly, and chicks overheat. Mark your calendar. Uneven lights create hot spots. Reposition for gradient.
Poor ventilation looks like drafts. Add screened tops later. Overcrowd, and disease spreads. Expand space on time.
Catch these early. Simple tweaks keep everyone safe.
A draft-free brooder with the correct heat gradient starts your chicks strong. Pick a good spot, seal tight, set the gradient, and monitor close. You’ll raise robust birds that lay eggs sooner.
Share your setup photos in the comments. What worked for you? Subscribe for more backyard poultry tips. Your flock thanks you.